A Space for Dialogue
Inspired by the Public Art Initiative Project The Freedom Wall, 2017

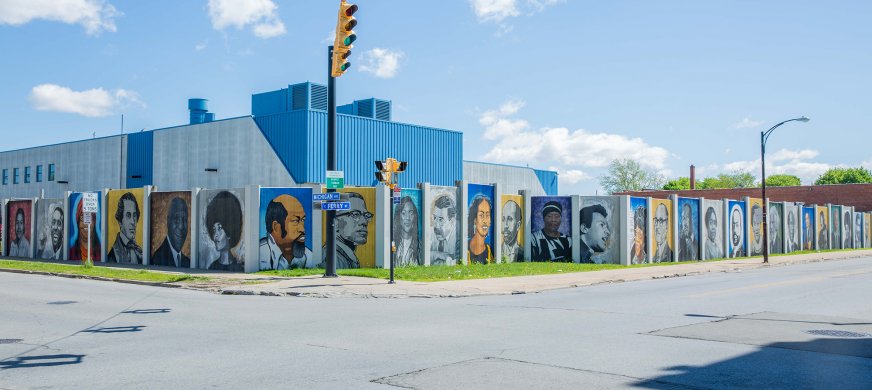
The Freedom Wall, 2017—by John Baker, Julia Bottoms, Chuck Tingley, and Edreys Wajed—on the corner of Michigan Avenue and East Ferry Street. Photograph by MK Photo.