Organic Shape Painting and Collage
Featuring Paul Feeley's Asellus, 1964

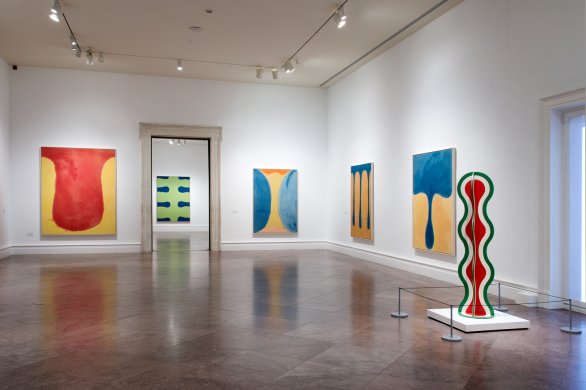
Paul Feeley (American, 1910–1966). Asellus, 1964. Oil-based enamel on canvas, 101 x 101 inches (256.5 x 256.5 cm). Collection Albright-Knox Art Gallery, Buffalo, New York; Bequest of Arthur B. Michael, by exchange, 2014 (2014:18.2a-d).