Family Activity Inspired by Linda Stark's Rainbow Rotation

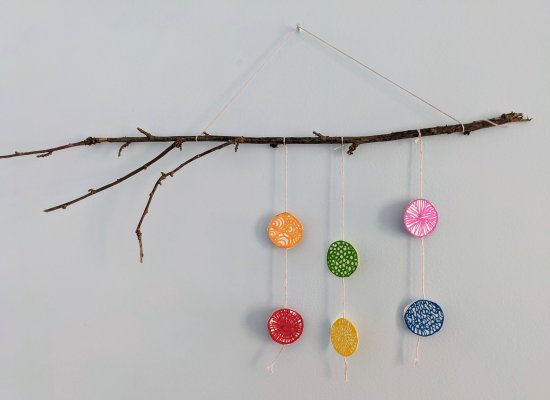
Winter is out and spring is in! Join us as we celebrate the changing seasons by making a colorful rainbow mobile you can hang in your home to remember the sun for months to come.

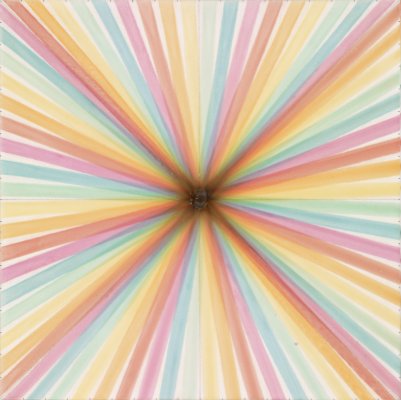
We will be gathering our inspiration from Linda Stark’s Rainbow Rotation, 1995, and the reflection, refraction, and dispersion of light. This craft is great for all ages, because, who doesn’t love a rainbow?!

Linda Stark (American, born 1956). Rainbow Rotation, 1995. Oil on canvas, 16 1/2 x 16 1/2 inches (41.9 x 41.9 cm). Collection Albright-Knox Art Gallery, Buffalo, New York; Dr. and Mrs. Clayton Peimer Fund, 2004 (2004:22). © Linda Stark

Getting Started

  • How many colors do you see in a rainbow?
  • How many colors can you see outside your window in nature?
  • How many lines can you think of—zigzag, wavy, etc.?
  • How many different patterns can you think of, or find, in nature?

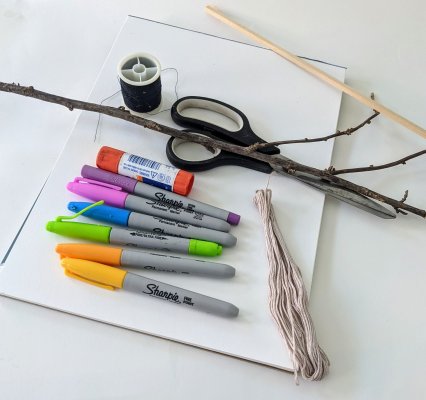
Materials

  • Large sheets of paper (white paper works best)
  • Glue (a glue stick works best)
  • String (string, thread, yarn, or even floss)
  • Scissors
  • A stick (this can be from outside or you could use a chopstick instead)
  • Markers, colored pencils, or crayons
  • Small round objects to trace
Artmaking Activity

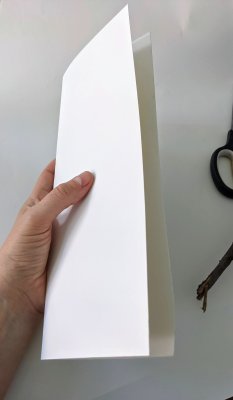
1. Fold your paper in half like a book.

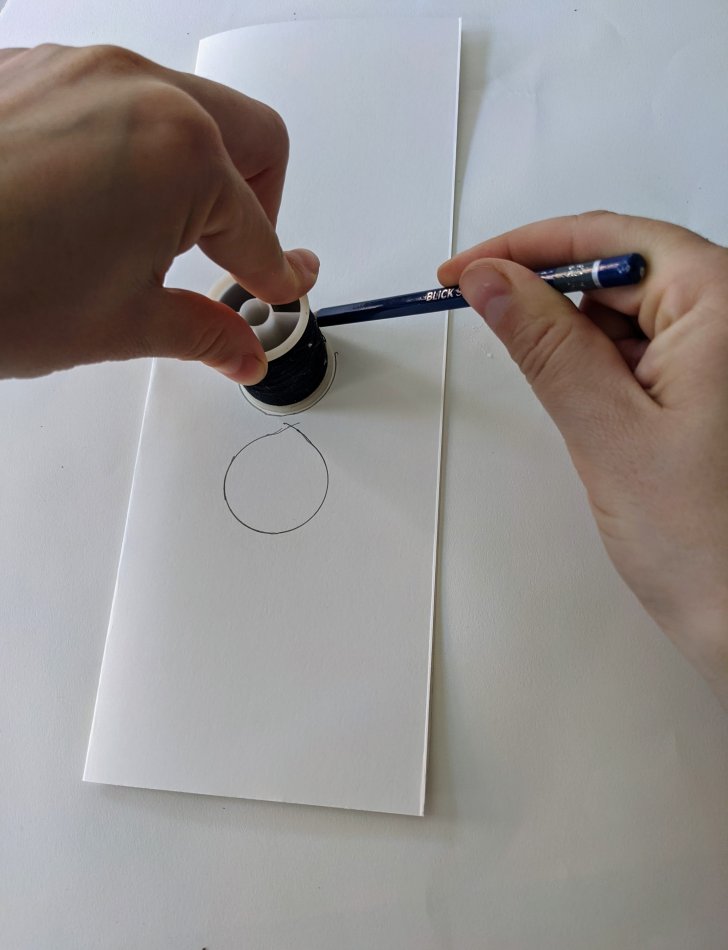
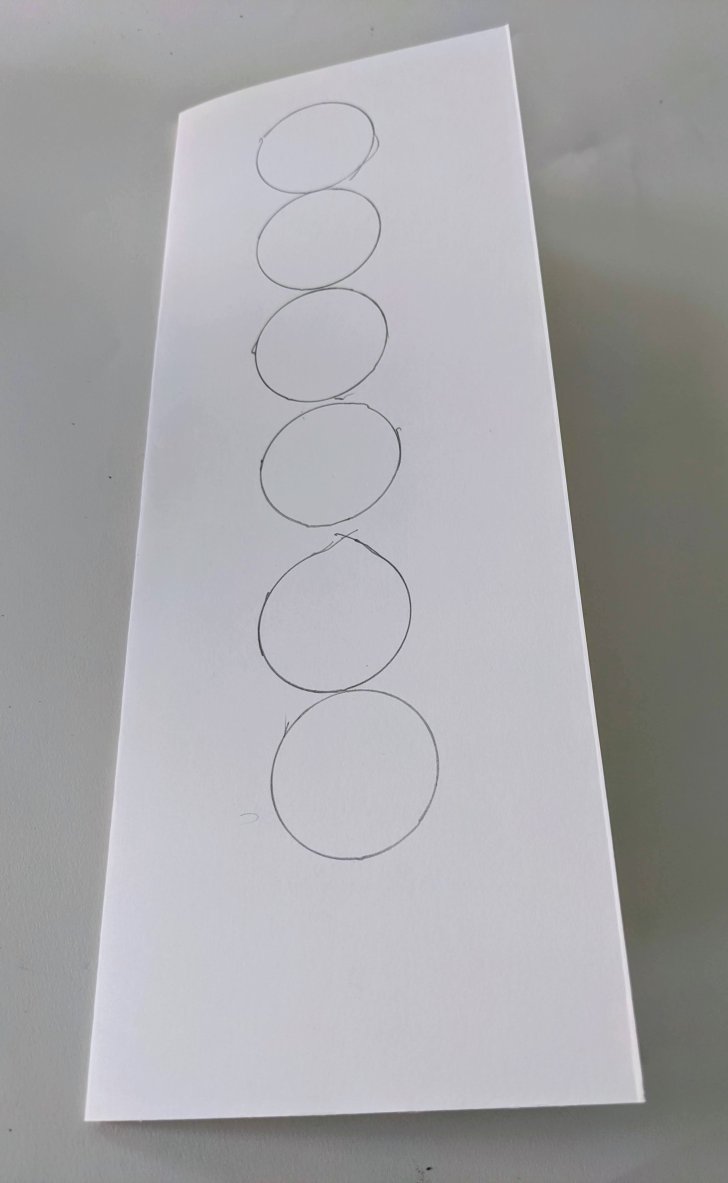
2. Put the folded paper down on a flat surface. Place your round object on the paper and trace around it to create six circles (one for each color of the rainbow).

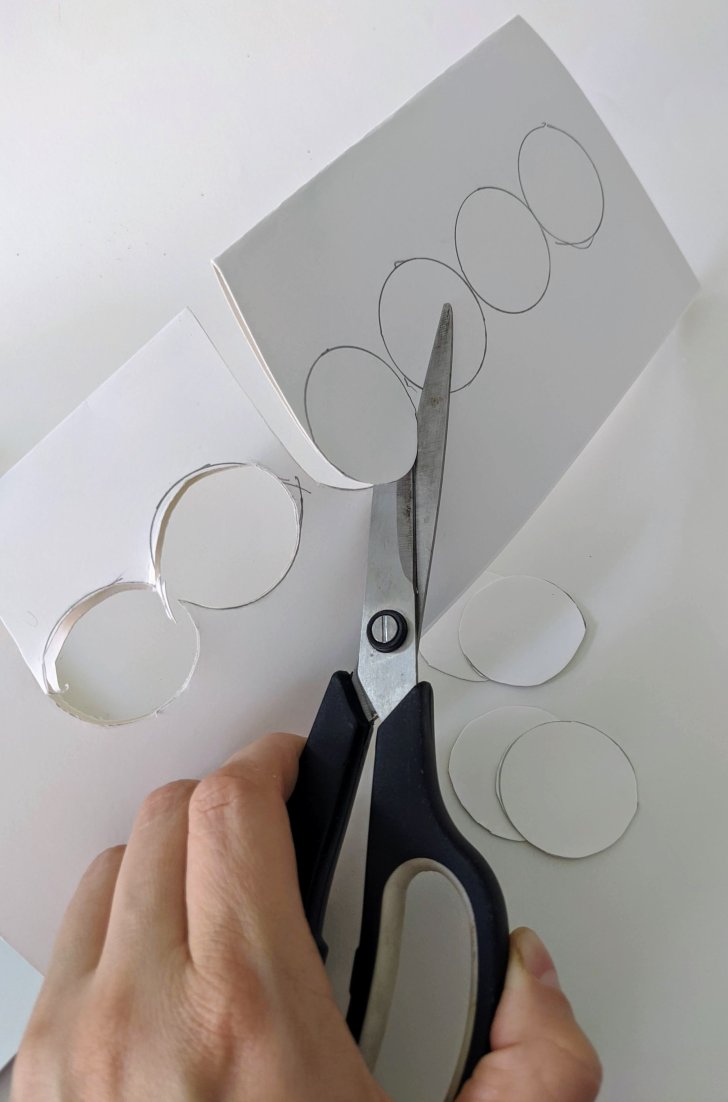
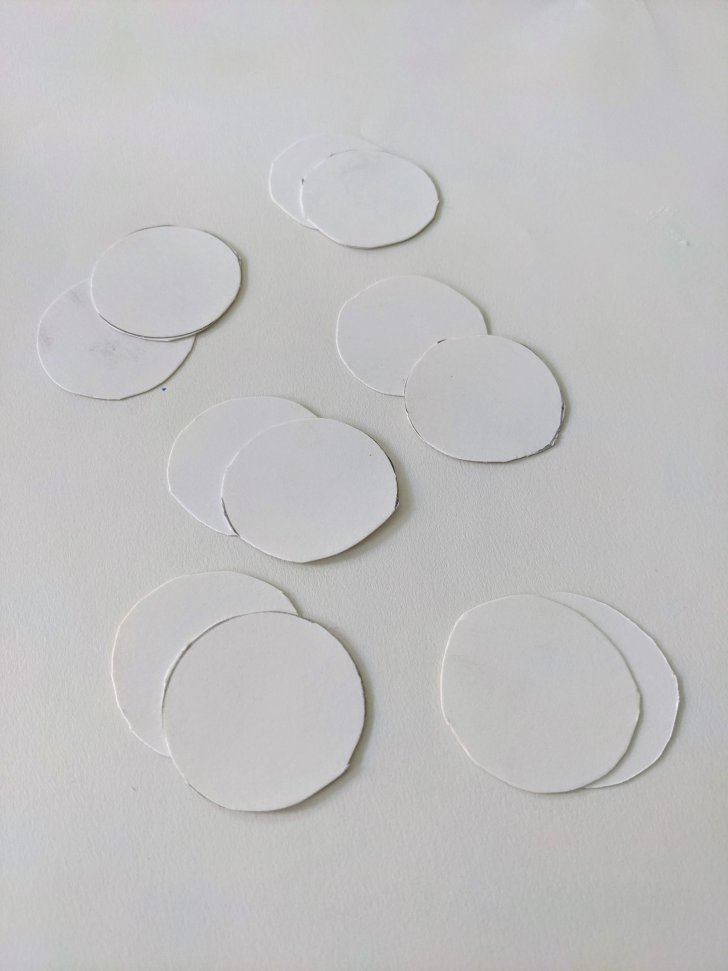
3. Use your scissors to cut carefully around the circles with the paper still folded so that you end up with 12 matching circles.

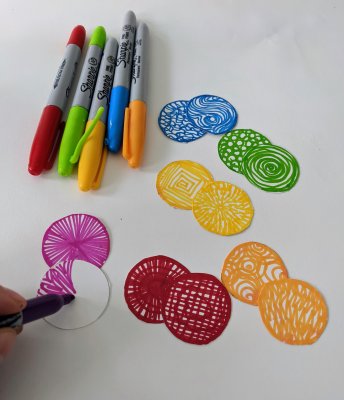
4. Now it's time to add some color! Use your markers, colored pencils, or crayons to color in the circles in all the colors of the rainbow. You could color each circle on both sides with one color or use different colors. You can experiment with different lines and patterns to create a fun designs like Linda Stark.

5. Next, cut three pieces of string about 12 inches long each.

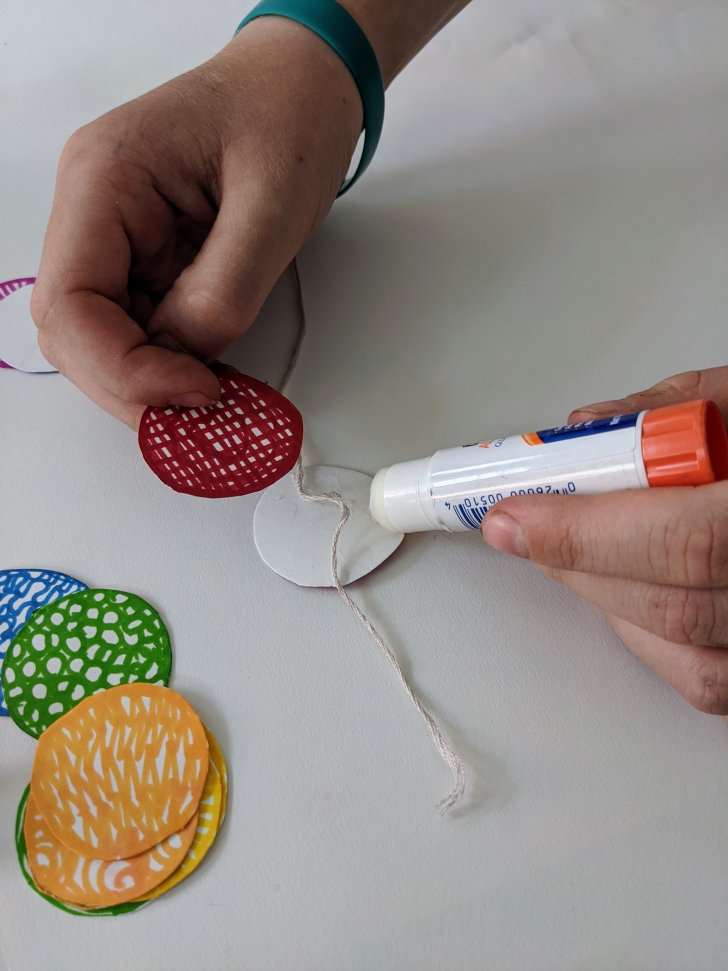
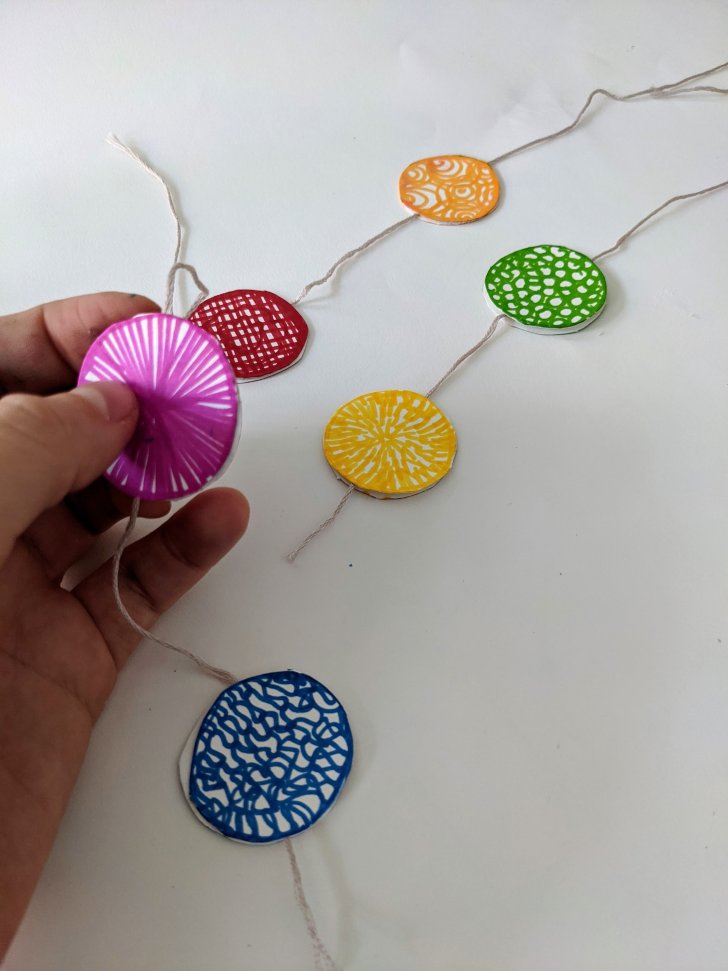
6. Time to make a sandwich! Put the string between two of the paper circles and glue them together (make sure to leave some space at the top of the string to tie it onto your stick later). Repeat this step with all of your circles on all the pieces of string. You should end up with two circles on each string.

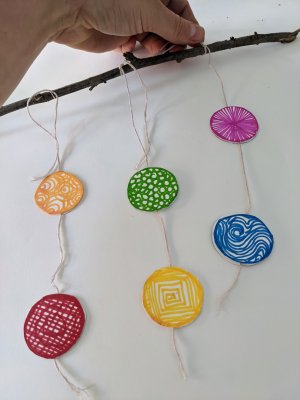
7. Next, tie each of string to your stick, spacing them out so that the circles can move around.

8. Last, tie a string at the top of your stick and find a good place to hang your mobile, such as in a window.

Optional: Share your creation on Twitter or Instagram with #AlbrightKnox and #MuseumFromHome!

Vocabulary

Mobile sculpture: a mobile has moving parts that are sensitive to a breeze or light touch