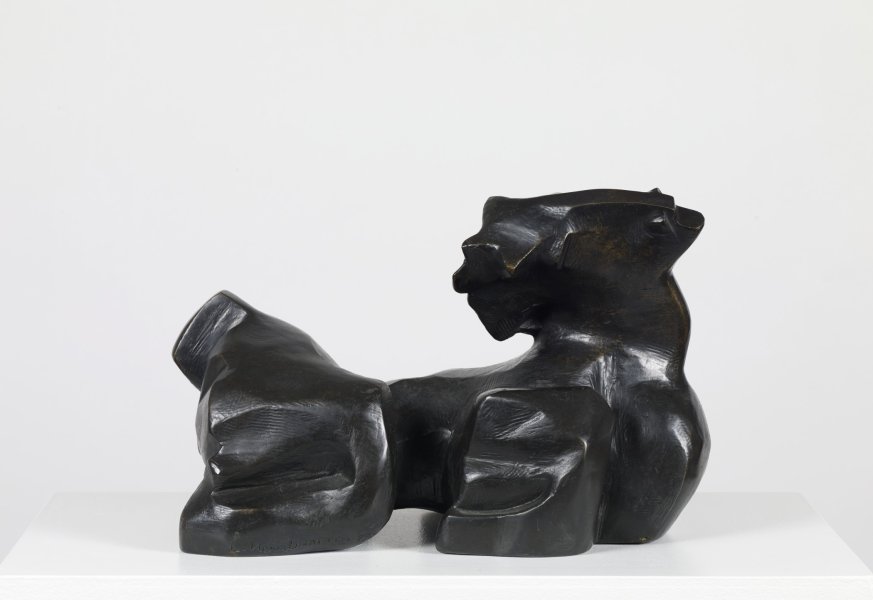
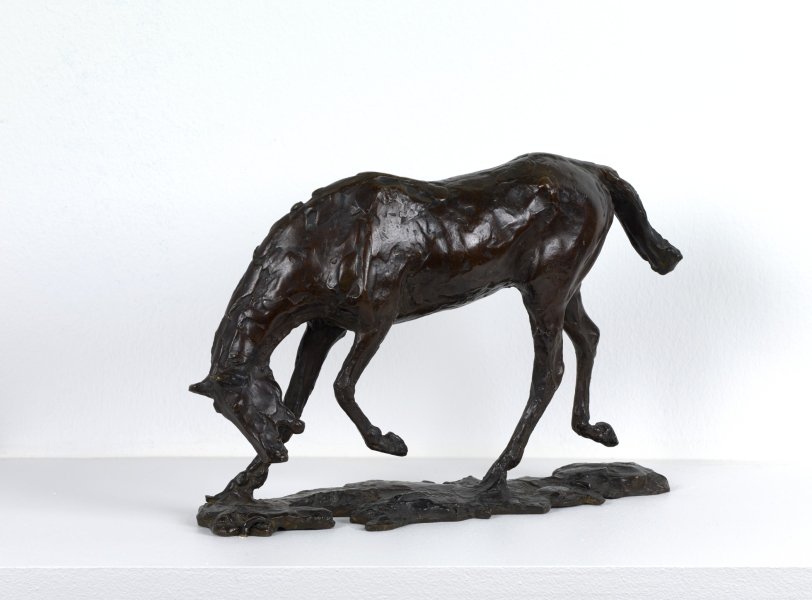
Compare and Contrast
All three of the sculptures in this lesson can be discussed individually to highlight the artist and work, as well as together to compare and contrast the sculpting styles. Creating a chart such as a Venn diagram can help students comparing the similarities and differences of the artworks.
It is helpful to discuss basic equine science with students before the artmaking activity begins. Showing an image of a real horse and discussing the parts of a horse can introduce students to the art they will view. Showing a video of a horse trotting or galloping is also beneficial, as some students may have no prior experience with horses.
Begin the discussion exercise by showing students a picture of each sculpture individually. For each sculpture, ask students to identify the different parts of the horse (e.g., head, neck, legs, etc.). Ask them to identify what the horse is doing in each sculpture. Ask students to also identify the color, shapes, mood, shadows, and texture they see in each sculpture.
Next, display all three images of the sculptures together. Have students create a three-sectioned Venn diagram with all three sections intersecting one another in a triangle form. Label each of the sections as one of the sculptures. In these sections, have students fill in elements of each sculpture that are unique and different than the others (e.g., Degas’s horse appears moving while Nevelson’s is kneeling and Marini’s is standing still). Where all three areas meet on the diagram, have students list similar aspects of each sculpture (e.g., all three works are horses made of bronze). Have students share their observations with one another. To wrap up this discussion and segue into the artmaking activity, ask students to share which sculpture style they like best and why.